
Transformations
Before & After Transformations
Side-by-side comparisons are the clearest way to see what a renovation changes. RENAWO will publish interactive before-and-after comparisons here as real project photography becomes available.
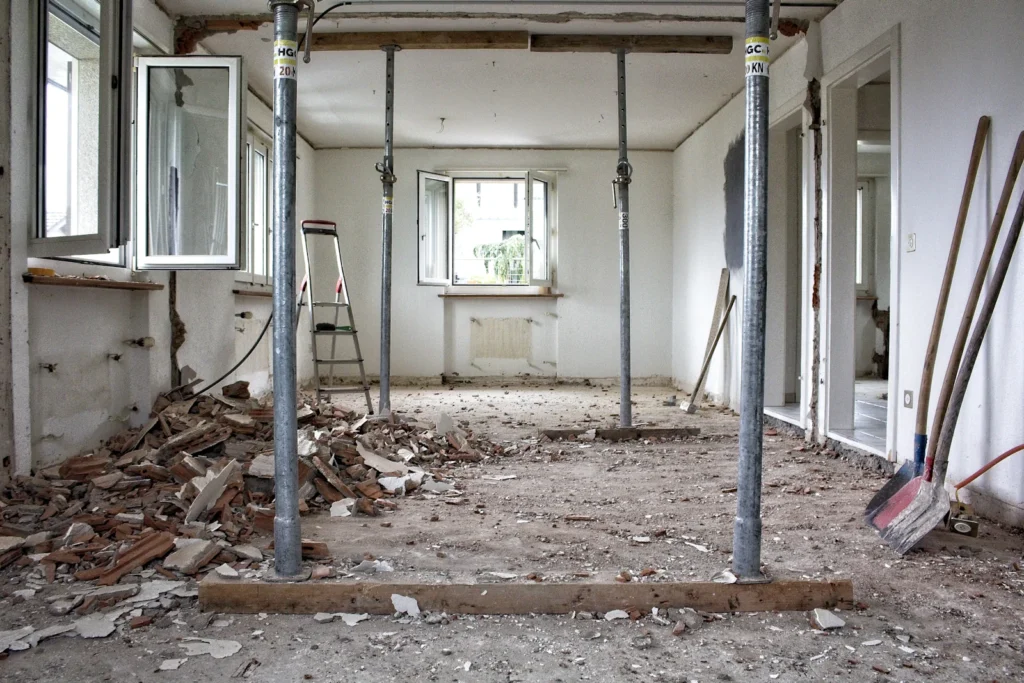
Design inspiration image. Not a completed RENAWO project.
Coming Soon
Honest Comparisons Only
We will only show before-and-after comparisons from completed RENAWO renovations, photographed from the same position before and after the work. No stock imagery, no renderings presented as finished work and no borrowed photos.
Until those comparisons are ready, you can learn how we plan and build each project on our process page and follow our project portfolio as case studies are added.
What the Comparisons Will Show
- An interactive slider that lets you drag between the original space and the finished renovation.
- Matched camera angles, so the change in layout, light and finish is easy to see.
- A short note on what changed and why: layout, storage, materials or function.
- A link to the full case study when one is available, with scope, materials and services used.
- The community where the work took place, only when it actually happened there.
Why It Matters
What a Good Comparison Tells You
Layout Changes
Moved walls, relocated fixtures and improved circulation are often the biggest changes, and the hardest to picture without a matched before photo.
Light and Space
Comparisons reveal how new windows, lighting plans and lighter finishes change the feel of a room at the same time of day.
Quality of Finish
Close comparisons make craftsmanship visible: straight lines, clean transitions and details that were resolved rather than covered up.
Homeowner Tip
How to Prepare Your Own Before Photos
If you are planning a renovation, take good before photos now. They help during planning, they are useful when you discuss your project with us, and you will be glad to have them once the work is finished.
- Shoot from the corners. Stand in each corner of the room and capture as much of the space as possible, then take a straight-on photo of each wall.
- Use natural light. Photograph during the day with blinds open and lights on, and avoid using the flash.
- Hold the camera level. Keep your phone vertical and at chest height so walls look straight. Note where you stood so you can repeat the angle later.
- Capture the problems. Photograph the things that frustrate you: worn finishes, cramped storage, water stains, awkward transitions.
- Include details and context. Take close-ups of existing fixtures, panels and vents, plus wider shots showing how the room connects to the rest of the home.
- Measure as you go. Note rough room dimensions and ceiling height alongside your photos.
- Keep them together. Save everything in one album or folder named by room, so the photos are easy to share when you request a quote and easy to find when the work is done.
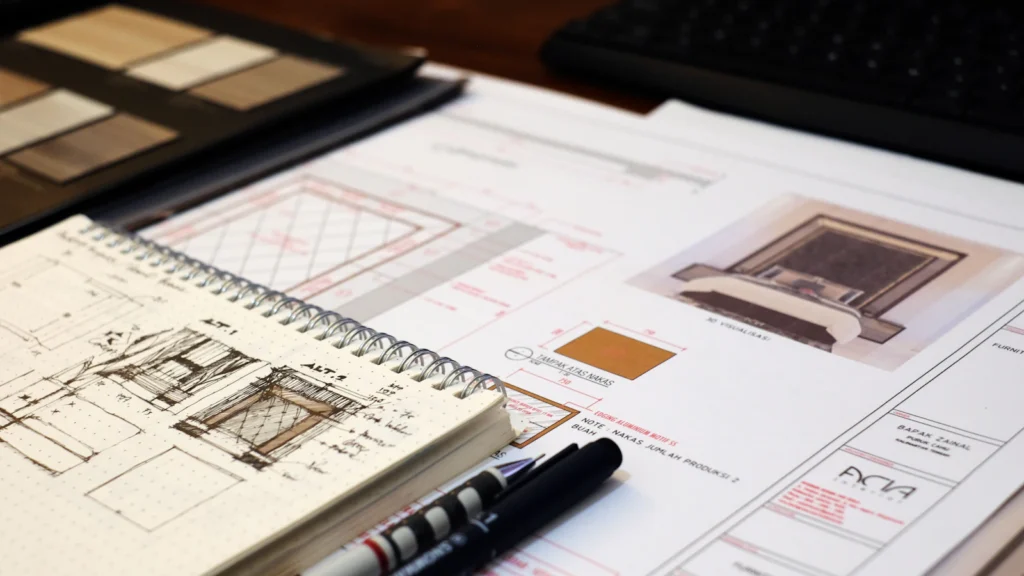
Design inspiration image. Not a completed RENAWO project.
Start Your Renovation
Ready to Create Your Own Transformation?
Share a few photos and a short description of your space. We will review your project and follow up to discuss what is possible.